The transition zone separates intermediate players from advanced competitors in pickleball. While most recreational players treat this area as dangerous territory to escape quickly, skilled players use it as a launching pad for devastating attacks.
Understanding when and how to strike from the transition zone can elevate your game from 3.5 to 4.5+ level almost immediately. The key isn't just reaching the kitchen line—it's maximizing offensive opportunities during your journey there.
Understanding the Transition Zone Advantage
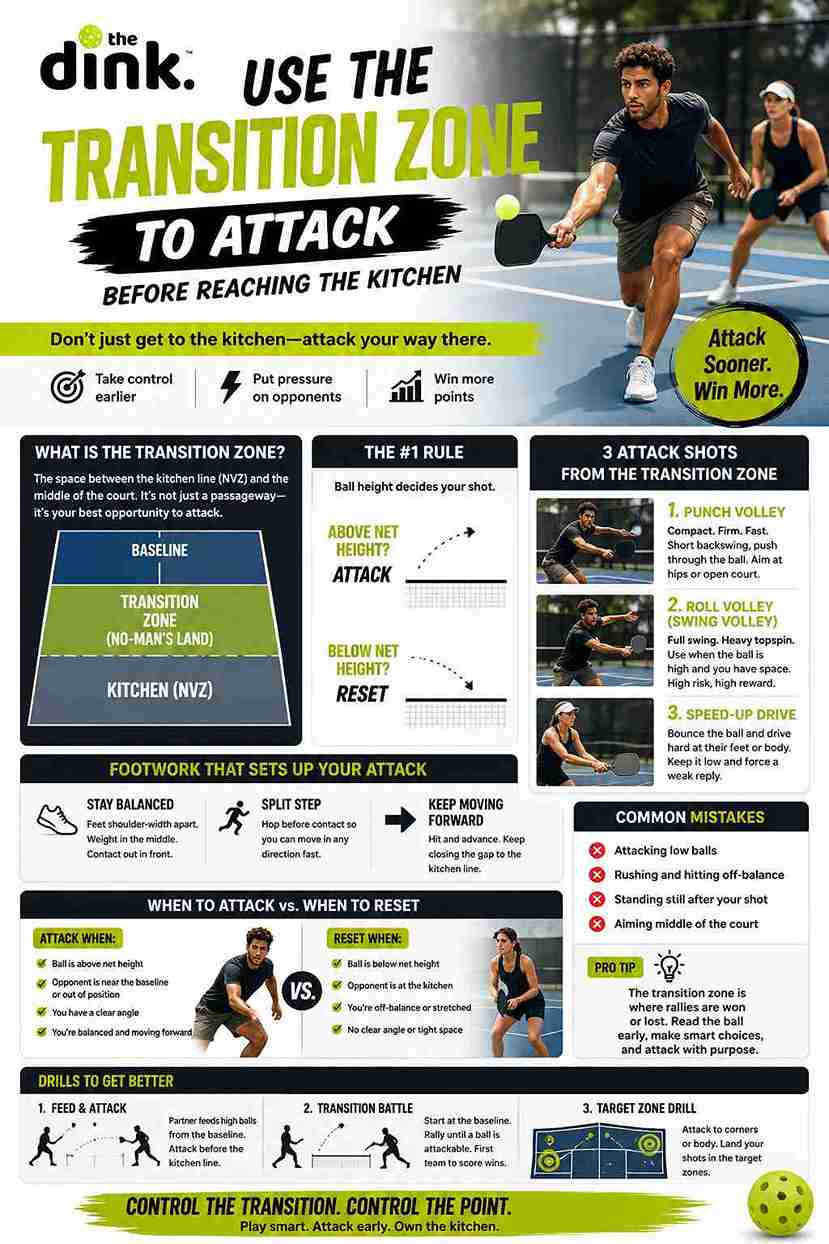
The transition zone, often called "no-man's land," extends roughly from the baseline to about three feet behind the non-volley zone line. Most players view this area as a weakness, but advanced players recognize it as prime real estate for offensive shots.

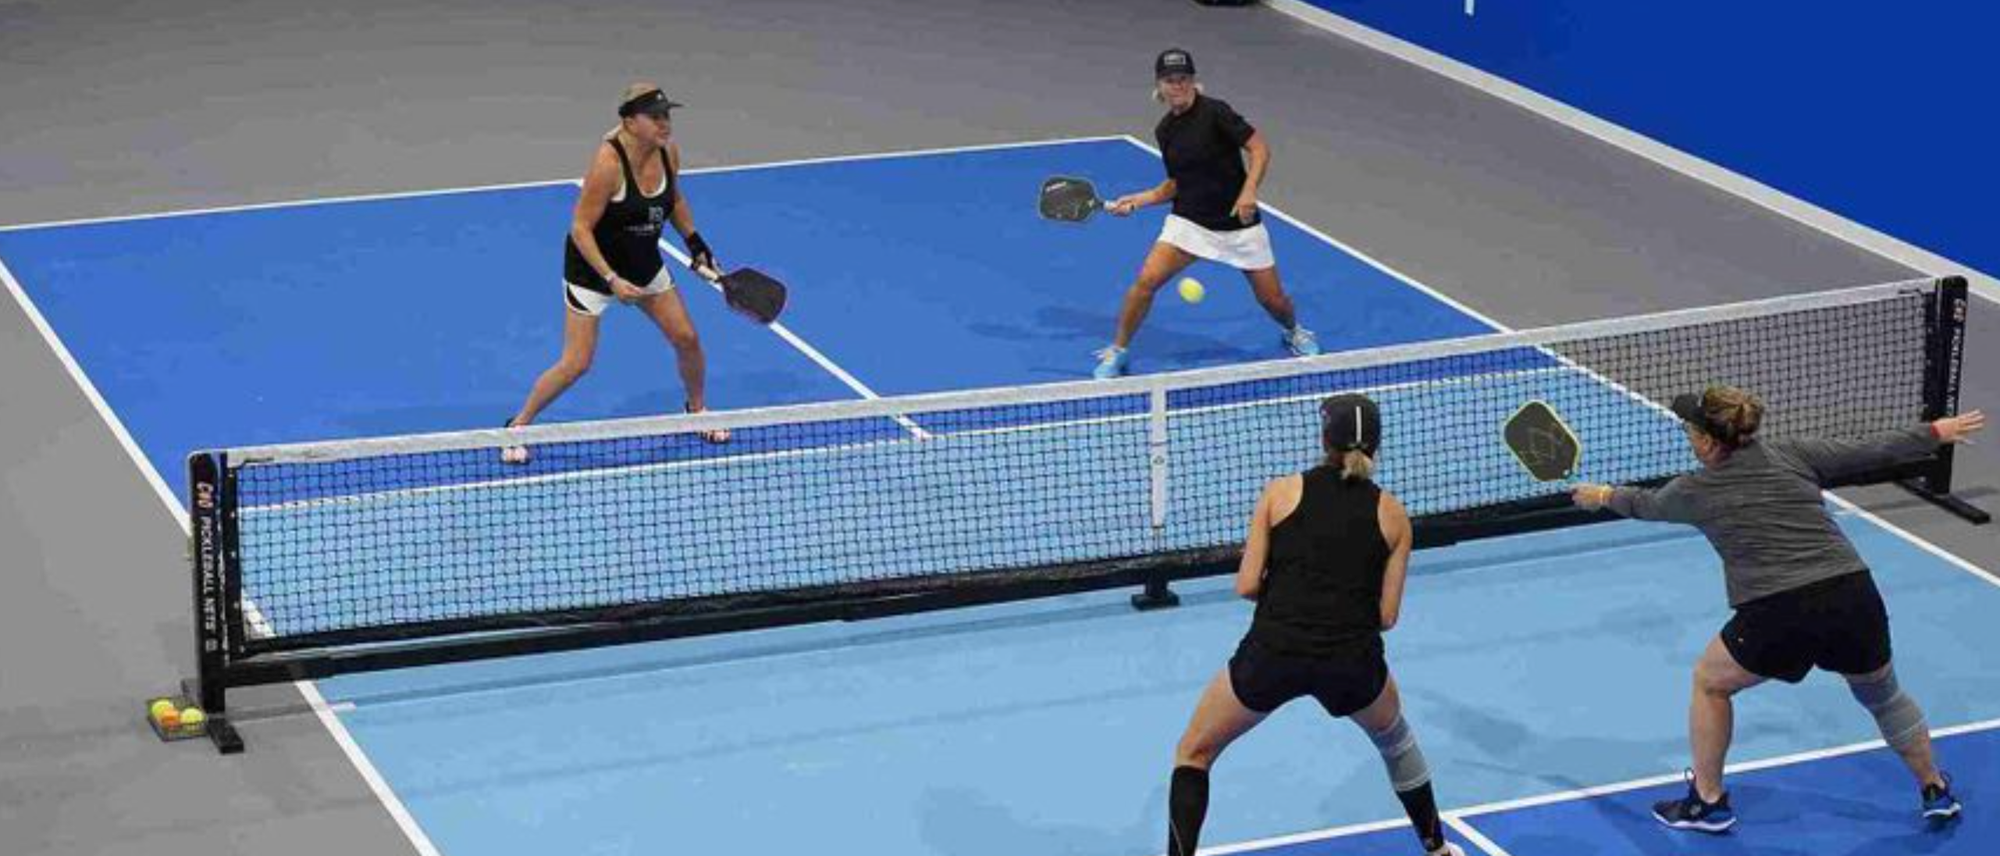
When you're positioned in the transition zone, your opponents are typically at the kitchen line, creating a height differential that works in your favor. This positioning allows you to hit down on the ball while maintaining aggressive angles that aren't possible from the baseline.
Identifying Attack Opportunities
The difference between surviving the transition zone and dominating it comes down to recognition. You need to identify three key situations that signal it's time to attack rather than play defensively.
High Ball Opportunities
When your opponents hit the ball above net height in your transition zone, treat it as a gift. These elevated shots give you the perfect opportunity to drive aggressively or hit a controlled slam that puts immediate pressure on your opponents.
Short Ball Scenarios
Balls that land in front of you in the transition zone create excellent attacking chances. Instead of dropping these back softly, consider a drive or a sharp-angled volley that forces your opponents into defensive positions.
Wide Court Openings
When you notice your opponents bunched to one side of the court, the transition zone provides the perfect vantage point to exploit the open court with precisely placed drives or drops.
Essential Transition Zone Attack Shots
Success in the transition zone requires mastering three fundamental attacking shots that can shift momentum instantly.
The Drive Attack
A well-executed drive from the transition zone travels low and fast, forcing your opponents to volley upward. Aim for the feet of the net player or thread the needle between both opponents. Keep the ball below net height to maintain pressure.
The Attacking Drop
This isn't your typical defensive drop shot. The attacking drop shot lands deeper in the kitchen with more pace, creating awkward positioning for your opponents while you advance to the net. Use topspin to ensure the ball bounces aggressively after landing.
The Surprise Lob
When opponents crowd the net expecting a drive, a well-placed lob from the transition zone can catch them completely off guard. This shot works especially well when you've established a pattern of driving, making the lob unexpected.
Timing Your Attacks
Knowing which shot to use is only half the battle. Advanced players excel at reading the situation and choosing the optimal moment to attack. Early in rallies, drives and attacking drops work well to establish dominance. Later in rallies, when opponents are positioned defensively, surprise lobs become more effective.
The key is patience combined with aggression. Don't force attacks when balls are below net height or when you're off-balance. Wait for the right opportunity, then commit fully to your chosen shot.
Common Transition Zone Mistakes
Many players sabotage their transition zone attacks by making predictable shot choices or poor positioning decisions. Avoid hitting every ball as a soft drop—this telegraphs your intentions and allows opponents to move forward aggressively.
Similarly, don't rush through the transition zone so quickly that you can't set up properly for attacking shots. Advanced players move with purpose but maintain balance and shot selection options.
Practice Drills for Transition Zone Mastery
Improving your transition zone attacks requires specific practice. Set up drills where a partner feeds balls to various spots in the transition zone while you practice choosing between drives, drops, and lobs based on ball height and positioning.
Work on recognizing attack opportunities quickly and executing shots with confidence. The more comfortable you become with these decisions, the more naturally they'll occur during competitive play.
FAQ
When should I avoid attacking from the transition zone?
Avoid attacking when the ball is below net height, when you're off-balance, or when your opponents have superior positioning at the net. In these situations, focus on resetting with a defensive drop or getting to a better court position.
What's the biggest mistake players make in the transition zone?
The biggest mistake is being too predictable with shot selection. Many players default to soft drops for every ball, making it easy for opponents to anticipate and move forward aggressively.
How do I know if my transition zone attacks are effective?
Effective attacks force your opponents to hit defensive shots, create short balls you can attack, or win points outright. If opponents are consistently returning your attacks with aggressive shots, reassess your shot selection and timing.